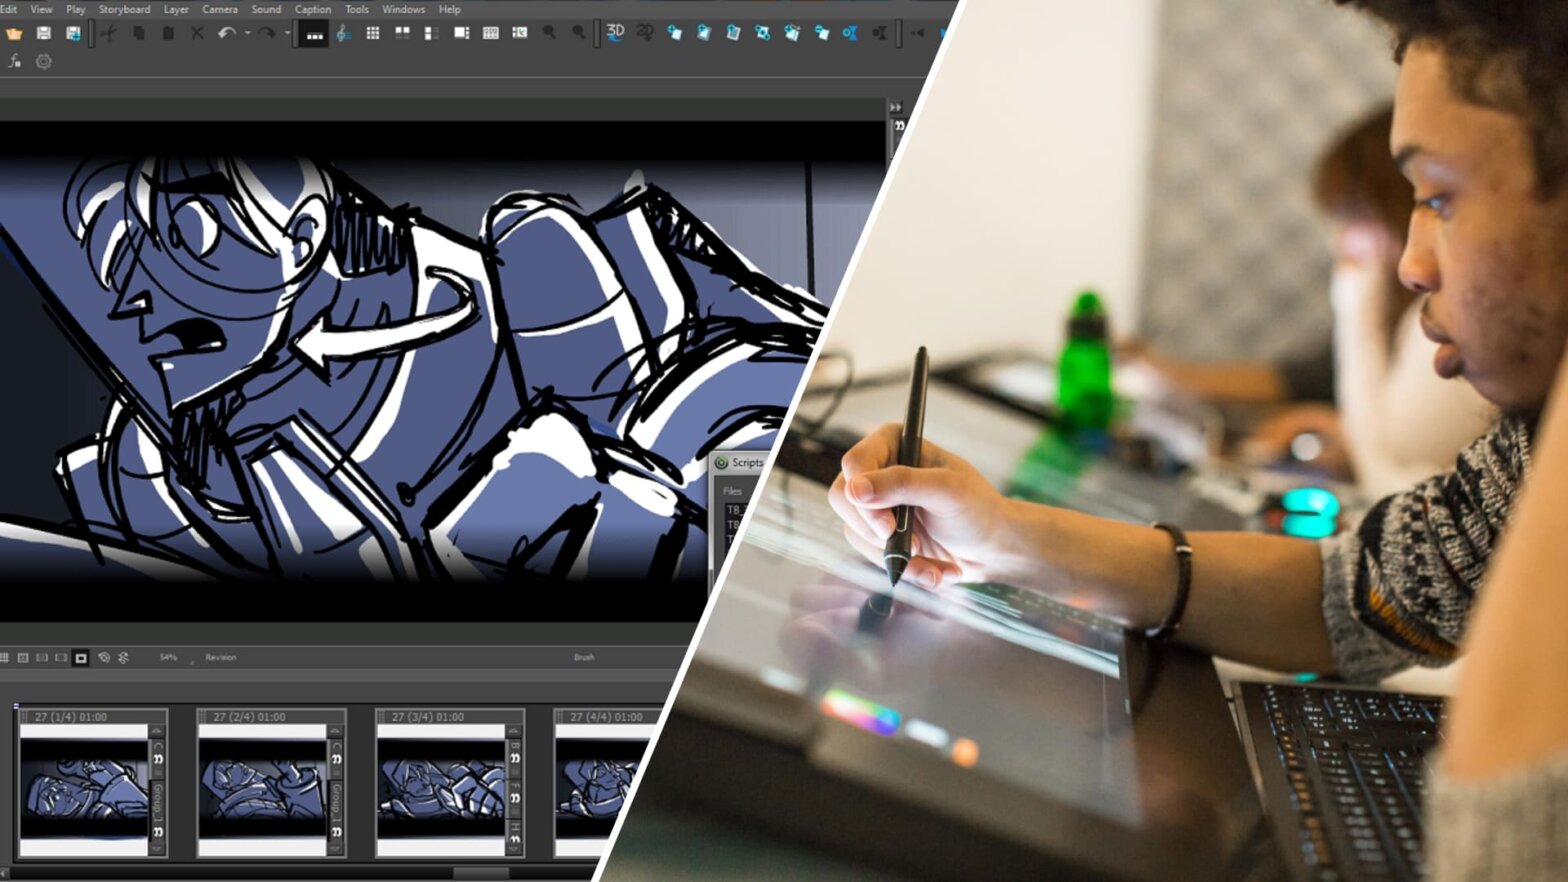
In the previous post, we covered the basics behind animatics (including the difference between a storyboard and animatic). Now that we have our foundation on animatics, let’s get into more detail on how to make one.
The question now becomes: How to make an animatic?
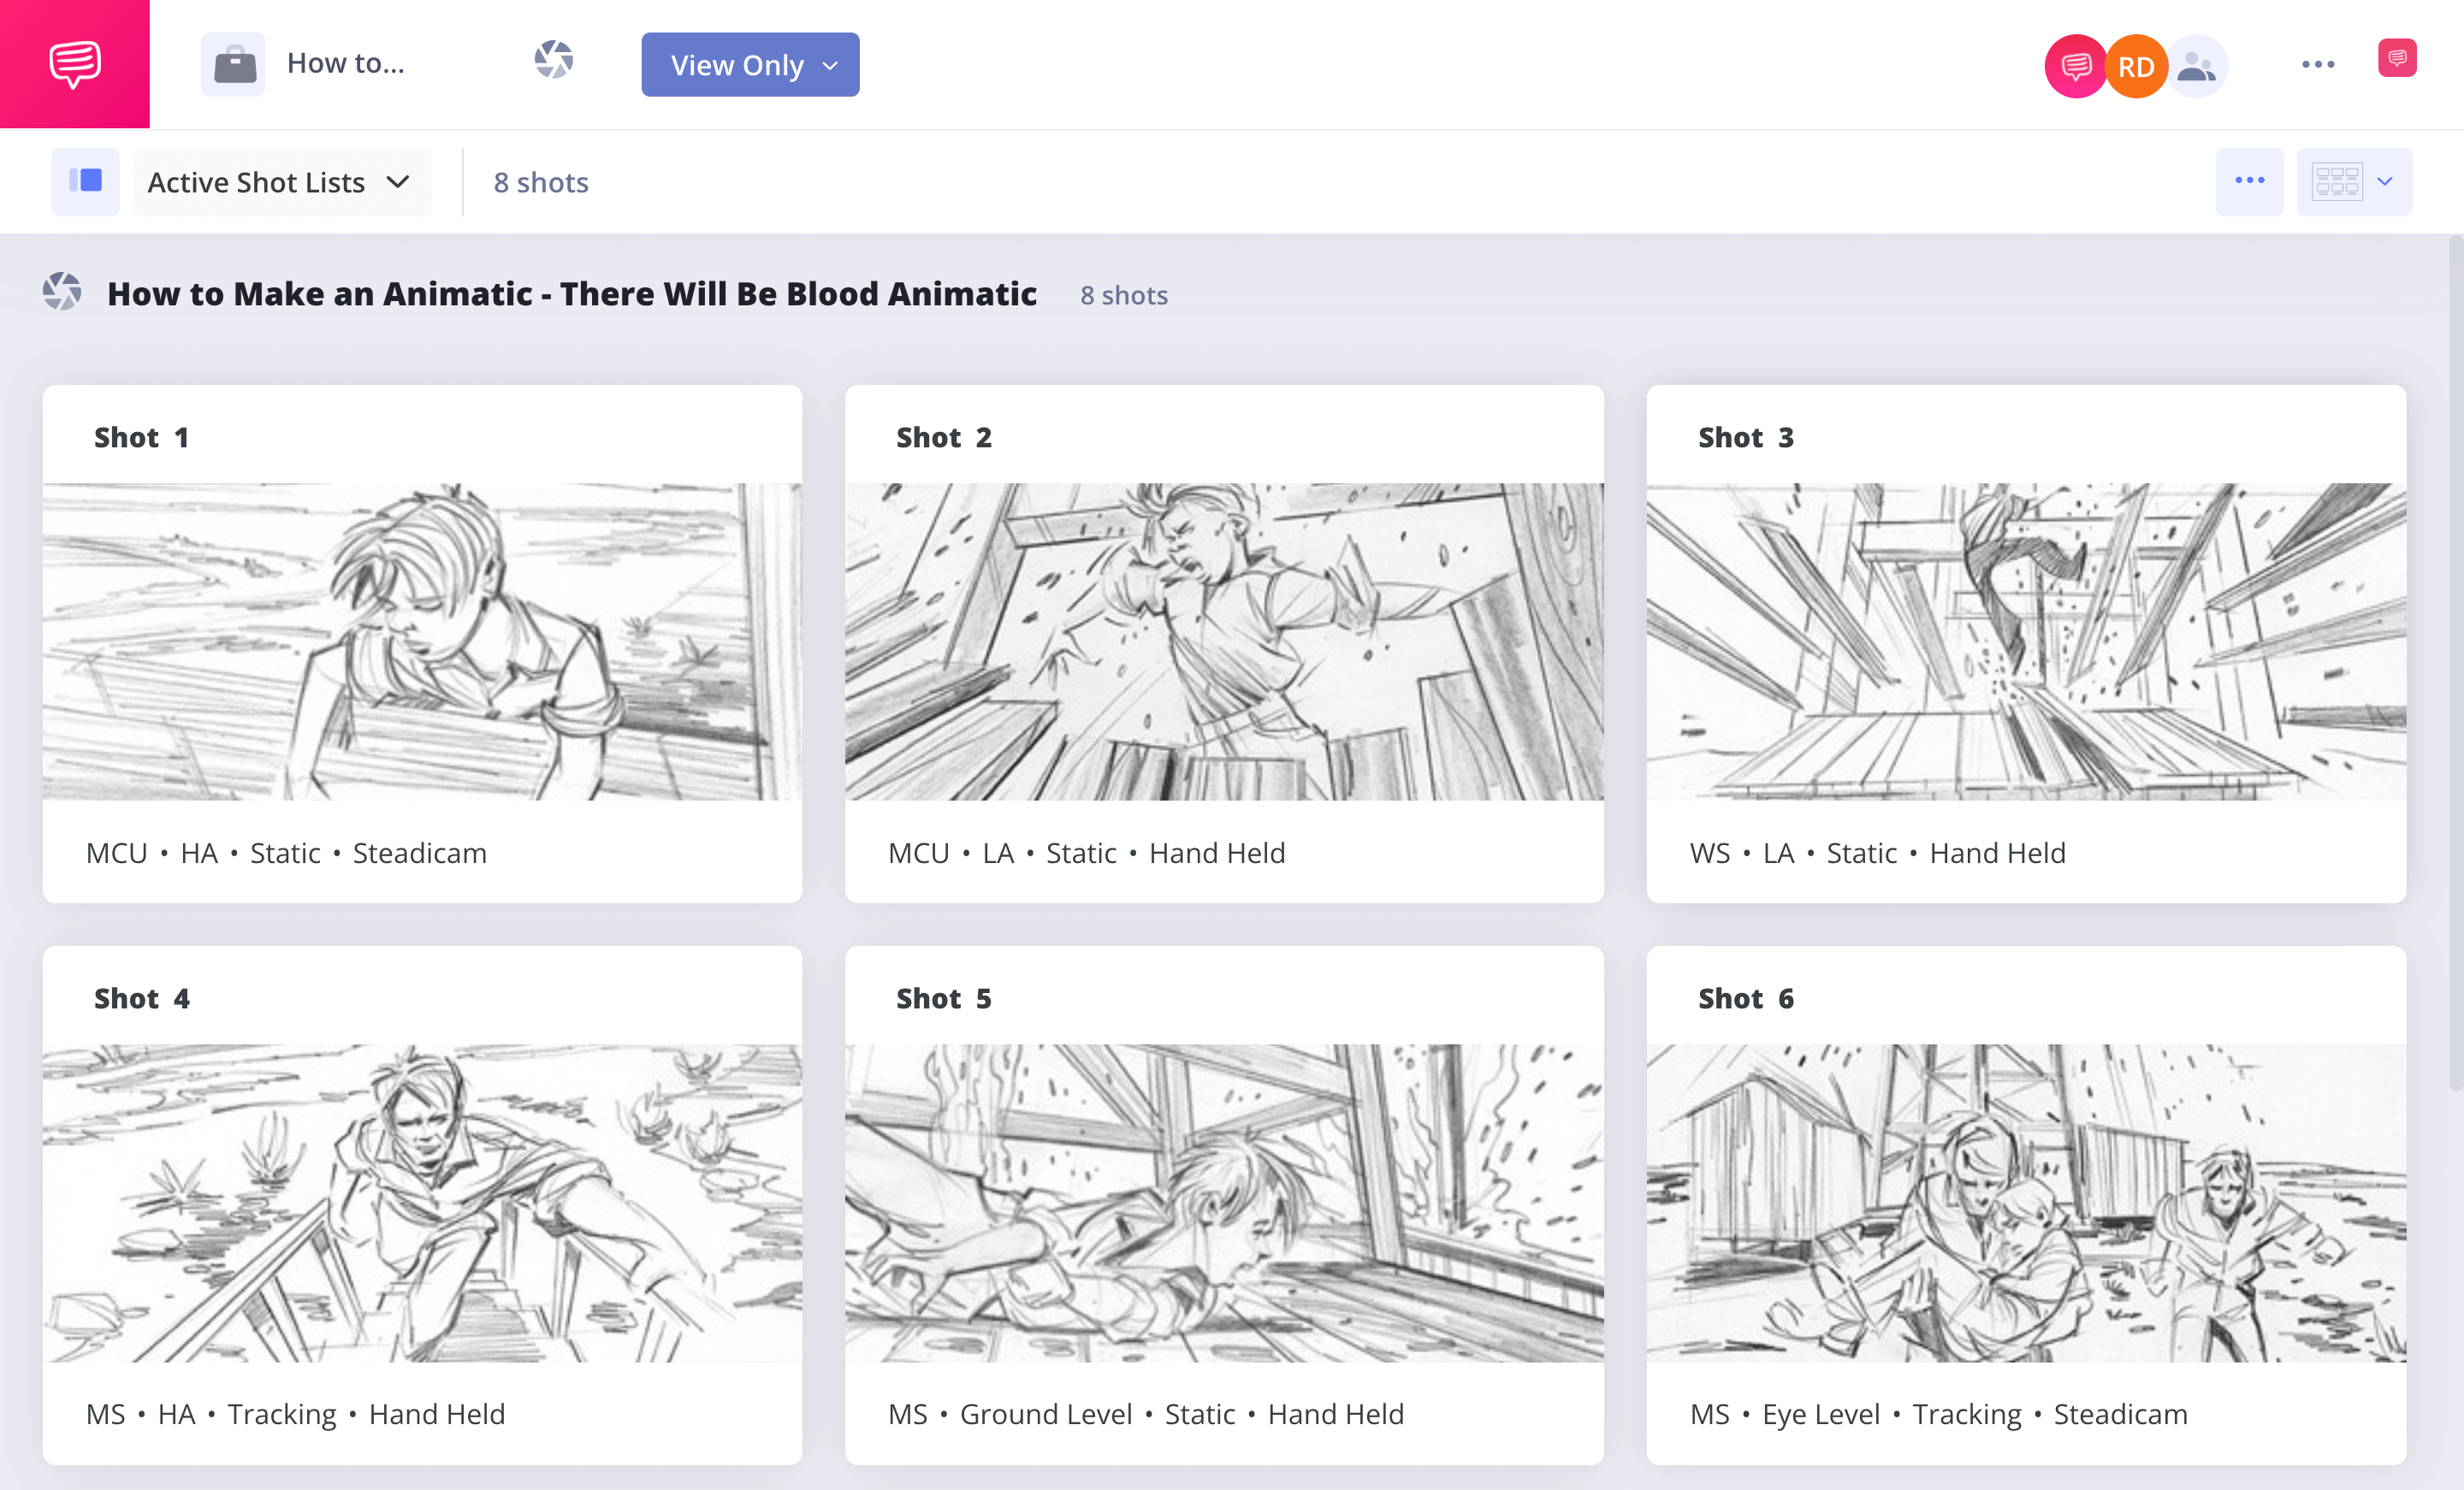
In this article, we’re going to discuss strategies and tips to get the most out of the animatics process. We’re also going to walk through the process of using StudioBinder to create an animatic storyboard, step-by-step.
1. Best practices in an animatic
The biggest question you might have when approaching an animatic storyboard involves detail. How detailed should this animatic be?
Too little detail in the animation and you won’t capture the flow and pacing that an animatic should provide. Too much detail and you’ve spent countless hours basically animating a complete film.
Check out this example of a pretty detailed animatic from Zootopia:
Zootopia animatic
These drawings are pretty advanced– they’d take a lot of time. The key is to find that balance of detail that gets the point across without requiring months of work. Animatics are tools to assist in the storytelling process--the more detailed they are, the more beneficial they can become.
So, you should consider providing voices for the characters, sound effects, and music for the background.
The elements that really push an animatic beyond a simple storyboard are sound and music. This is really where the animatic comes to life.
The easiest addition is music. You can take any piece of already recorded music (perhaps some royalty-free background music) and drop it into the project. Even without dialogue or sound effects, you can use the music for timing and overall emotion of the scene. Consider this the foundation of your animatic and everything else is decoration.
In this animatic, music is crucial to building tone and intention:
Animatic example
Dialogue is more difficult to add to the animatic but, if you have the time and resources, it will add a lot of value. Dialogue aids the timing of the project overall but it also guides larger considerations like story and character.
Lastly, sound effects are perhaps the least necessary element to include in your animatic. Once you’ve added music and dialogue, sound effects definitely help flesh out the project. They add further dimension and life to what would otherwise be simple sketches.
2. Draw storyboards
The first step in how to make an animatic is to generate images. Whether you’re hand drawing them, taking photos, or using sketching software, you need images.
Remember that the level of detail in your animatic is up to you. They can be stick figures (if that’s the extent of your artistic abilities) but the more detail you add, the better. An example of a storyboard, pre-animation:
Animatic example
As you begin to generate your storyboards, remember that you’ll need to create multiple images to create the illusion of motion. This is done with something called keyframes.
KEY FRAME DEFINITION
What is a key frame?
Keyframes are the beginning and endpoints of motion in animation. They are the anchors that the rest of the animation link to. In an animatic, you’ll need to create keyframes to give it that illusion of motion.
Ex. A character goes to shake someone’s hand. The first keyframe has their hand at their side. The second keyframe shows their hand in front, ready for the shake.
Keyframe tips:
- If you’re using software that will allow you to keep portions of the frame stable, you won’t need to create entire keyframes every time.
- Choose your keyframes wisely: if you can only use two frames to communicate motion, make sure it clearly suggested by the keyframes.
If you’re making an animated project, you’ll eventually add something called “inbetweens” that will bridge the gaps between your keyframes. These are additional frames that fill in the empty space between the keyframes, creating a nice smooth motion.
How to Make an Animatic Tips
Let sound help carry the load
After you’ve put together a rough cut of your animatic, you may realize that the motion you intended did not come across with your keyframes.
Instead of generating new images, try a sound effect. You might find that a simple sound effect will communicate exactly what you were trying to achieve.
Once you’ve generated your images, it’s time to start assembling your animatic. In the next section, we’ll begin the process of how to make an animatic with importing those images into your editing program.
3. Import your images
Assuming you’ve generated your images outside of your animatic software, you’ll now need to import them. Depending on the size of your project, you might have hundreds of images so organization is key.
Make sure you name and number your images thoughtfully and cleanly. The last thing you want is to have to reorganize 1,000 images, especially since they will be so difficult to differentiate.
Think about just how many images needed to be created for this one scene in Wes Anderson’s Grand Budapest Hotel animatic:
Wes Anderson animatic
Note too, that Anderson is including camera moves, and has imported his character drawing separate from the background, so he can move them across space without having to redraw them each time.
4. Add dialogue
Adding motion to your storyboards is a huge step in the animatic process but nothing brings your images to life like dialogue. Dialogue not only gives us a real sense of these sketches becoming a real movie, but it is also integral to the animatic process for a couple of reasons.
First, going from words on a script to a scene is your first opportunity to see what’s working and what’s not. Maybe you notice that certain dialogue is unnecessary because the performance would make it redundant.
Second, animatics are all about timing and pacing. With the dialogue recorded, you can see where the pacing can be adjusted. Again, you have this opportunity to go back to the script to make these changes before you’re ever on set, where time is money!
How to Make an Animatic Tips
Perform your dialogue
Even if you have to voice all of the characters yourself, make sure you record a performance of the dialogue.
Don’t just read the lines, try to craft them as close to what they’ll eventually be. Otherwise, you’ll lose much of the benefit of including dialogue in your animatic in the first place.
Once you have dialogue laid into the project, it’s time to fill out the soundtrack with music and sound effects. In the next two sections, we’ll discuss why each of these elements will add depth and personality to your animatics.
4. Add music
Music gives your animatic rhythm. Since the finished film will most likely also have music, you can get a “feel” for the story, characters and performance before the cameras roll or the animation begins.
The emotional pitch for your film is often informed and supported by the score. The animatic is also the first opportunity to test out the direction your music will take in the finished film. This benefits you as the creator of the piece but it’s a great tool to share with your collaborators as well.How to Make an Animatic Tips
Choose original music
You can add any music you want to an animatic but try to choose original music. If you add John Williams’ Star Wars score, it will only distract from your story.
Finally, music fills in the gaps that a rough animatic will inevitably have. Watching unfinished sketches in a series barely suggests what the film will look, feel and sound like. With music, you are brought closer to a finished product and the decisions you make about the story, character, dialogue, etc. can be made more accurately.
5. Add sound effects
Similar to music, sound effects will add a lot of depth and personality to your animatic. Following up on the tip earlier, sound effects can fill in a lot of information between your keyframes. A car engine revving, shoes walking on concrete, or a scary sound effect might add just enough information to the scene, making additional images or keyframes unnecessary.
Adding sound effects not only adds information and depth to what we see in the frame, but it also adds to the world we don’t see. If your scene takes place at the beach, you can spend hours drawing sand dunes, tiny seashells, or lapping waves.
Or you can add sound effects like seagulls and crashing waves.
Suddenly, we’re “at the beach” and it was as easy as dropping in a couple of audio files.
This animatic uses sound effects to emphasize action (tires screeching, etc.):
Animatic with sound effects
Now, you’ve got your images in order and timed out perfectly, your dialogue is in place, the sound effects and music are all done. What’s next? It’s time to get that animatic out of your software and out into the world. In the final section, we’ll discuss what to do once you finish creating an animatic.
6. Export and share
Unlike film, animation, in theory, could be done by a single person. Many famous animators work completely alone– but that doesn’t mean you shouldn’t bring anyone else in during the process.
Once you’ve completed your animatic, export the video and start showing it to people. Watch them as they watch your animatic. Are they getting it? Are they laughing in all the right places? This is a perfect opportunity to “test screen” your project.
How to Make an Animatic Tips
Give it to them cold
When you’re about to show someone your animatic, don’t tell them anything about the story. The less they know, the better. If you’ve told them the entire story already, their feedback will be less useful in the long run.
Then, if they like it: it’s working. If they don’t like it or have questions: you now know what to fix.
Show your animatic to a few different people, from a variety of backgrounds. Of course, show it to people who understand filmmaking and animation because they will give you very specific feedback.
But don’t just show it to your other animation friends or colleagues, bring your parents in, show it to your landlady, anyone! The diversity of your test screening participants will ensure a better film overall that will appeal to people across the board.
That’s it! Now you know how to create an animatic. You’ve run it through the test screening process and made some adjustments. The only thing left to do is turn this rough draft into the real thing!
UP NEXT
Storyboard Examples
Now that you know how to make an animatic, why not get inspired with examples of storyboards from some of the best movies of all time? In this post, we’ve got examples from films like Jurassic Park, Inception and Star Wars. There’s nothing more inspiring than knowing one of your favorite films like Alien began as “doodles” in a storyboard. If they can do it, you can too.
Up Next: Best Movie Storyboards →
Showcase your vision with elegant shot lists and storyboards.
Create robust and customizable shot lists. Upload images to make storyboards and slideshows.

